If you love the look of long, full lashes but don’t want to spend a lot of money or time at a salon, DIY lash extensions are the answer.
They offer the same glamorous results as professional lash extensions but can be applied at home, saving both time and money.
Whether you’re looking for a natural look or something more dramatic, DIY lash extensions are a great option. In this guide, we’ll show you everything you need to know about best DIY lash extensions.
We’ll cover the top products, how to apply them, and tips to make them last longer. Plus, we’ll share the best DIY lash extensions kits of 2025 to help you choose the right one for your needs.
1. What Are DIY Lash Extensions?
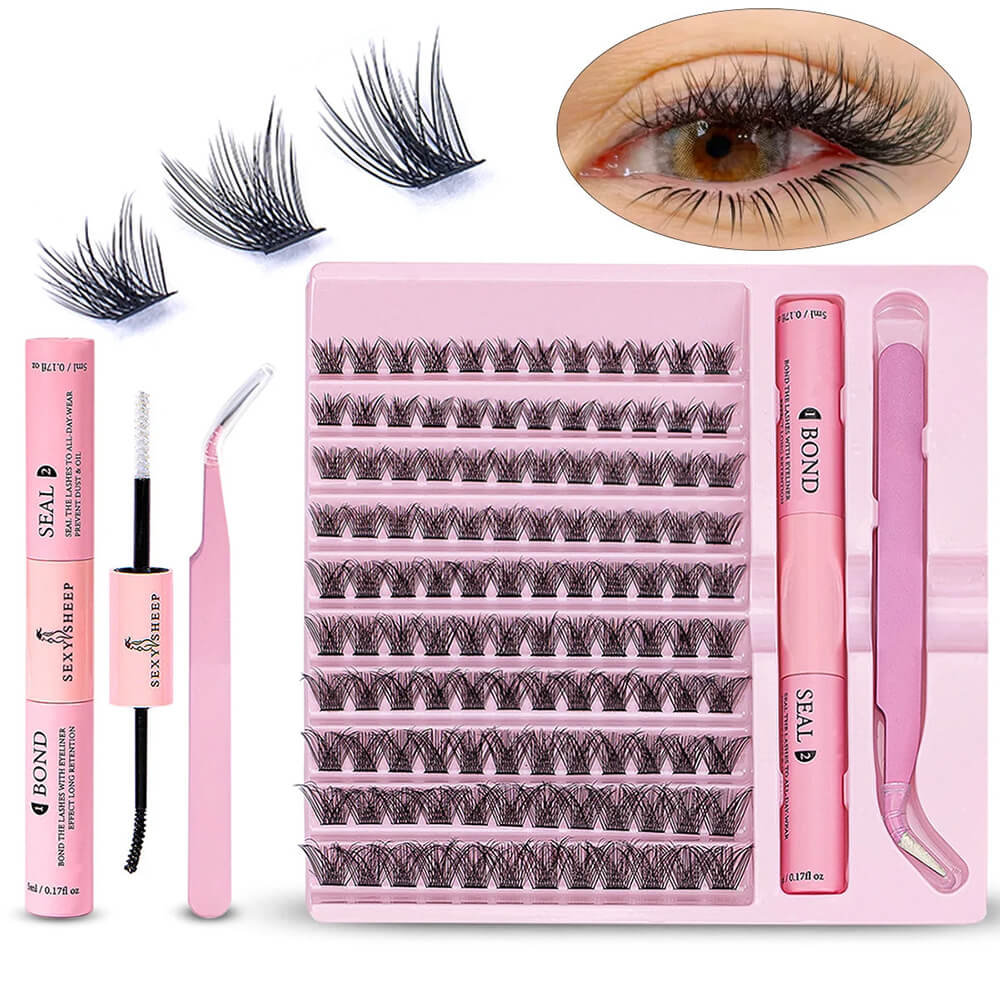
DIY lash extensions are individual lashes that you apply directly to your natural lashes with glue. They are different from strip lashes, which are glued to your eyelid.
DIY extensions create a more natural look because each extension is attached to a single natural lash. The lashes come in different styles, lengths, and thicknesses.
This allows you to customize your look based on your preferences. You can choose from natural, voluminous, or dramatic styles.
The biggest benefit of DIY lash extensions is convenience.
You can apply them at home whenever you want and remove them when you’re done. It’s an affordable way to get fuller, longer lashes without the salon visit.
2. Why Choose DIY Lash Extensions Over Salon Extensions?
When deciding between DIY lash extensions and professional salon extensions, there are several factors to consider. Here’s why DIY lash extensions are a great choice for many people:
Cost-Effective
One of the main benefits of DIY lash extensions is the cost. Salon lash extensions can be expensive, ranging from $100 to $300 per session.
On the other hand, DIY lash extensions cost between $20 and $50 for a kit. If you plan to use lash extensions regularly, DIY kits are a much more affordable option.
Time-Saving
Getting professional lash extensions can take a couple of hours at the salon. You also need to go back for touch-ups every few weeks.
DIY lash extensions only take around 30 minutes to apply, and you can do them on your schedule, at home.
Customization
With DIY lash extensions, you can customize the look you want.
Whether you want a natural or bold look, you can mix and match different lash lengths, thicknesses, and styles to create your perfect lash look.
Convenience
Applying your lashes at home means you don’t have to worry about booking an appointment.
You can apply DIY lash extensions whenever you need them and remove them at night. Plus, they are easy to store, so you can keep them for future use.
Here’s a quick comparison:
Here’s a quick comparison:
Feature | DIY Lash Extensions | Salon Lash Extensions |
Cost | $20-$30 per kit, reusable | $200-$300 per full set |
Time | Flexible, apply at your convenience | 1-2 hour appointments |
Customization | Full control over style, volume, length | Customized by technician |
Maintenance | Weekly application | Fills every 4-6 weeks |
Safety | Gentle glue, lower risk | Strong-hold glue, potential for irritation |
3. Top 5 Best DIY Lash Extensions Kits in 2025
When it comes to DIY lash extensions, choosing the right kit is important. Some kits are easier to use, while others offer better quality or longer-lasting results. Below are five of the best DIY lash extensions kits for 2025.
3.1. Lashify Gossamer Lash Extensions Kit
Lashify is a leading brand for DIY lash extensions, and their Gossamer Lash Extensions Kit is one of the best on the market. The kit includes lightweight lashes that give a natural, voluminous look.
The lashes are easy to apply and last up to a week. Lashify also offers a variety of styles, so you can customize your look.
3.2. Lilac St. Lash Kit
Lilac St. is another popular brand known for its high-quality DIY lash extensions. The kit is perfect for beginners and experienced users alike.
The lashes are soft and lightweight, making them comfortable to wear for long periods. The adhesive is strong but easy to remove, and the instructions are simple to follow.
3.3. Amorus USA DIY Lash Kit
Amourus USA offers a budget-friendly option for DIY lash extensions. Their kit comes with everything you need for a full set of lashes.
The lashes are soft and flexible, and the glue is long-lasting. This kit is a great choice if you want a natural look that won’t break the bank.
3.4. Mini Kit Lash Kit by PRO Lash
For a more dramatic lash look, the mini kit lash kit by PRO Lash is a top pick. The lashes are voluminous and long-lasting.
The adhesive is waterproof, so you don’t have to worry about your lashes coming off in the rain or during a workout. This kit is ideal for those who want fuller, longer lashes that make a statement.
3.5. Levi Lashes- DIY Lashes Kit
If you’re looking for diy lashes vendor, LEVI LASHS is your best choice, which is a professional manufacturer of DIY Lashes Extension Kits.
And customer lashes package can be available. Their experienced factory will produce your order following your requirements.
4. Best DIY Lash Extensions for Beginners
If you’re new to DIY lash extensions, it’s important to start with a kit that’s easy to apply. Here are some of the best options for beginners:
4.1. Lashify Beginner Kit
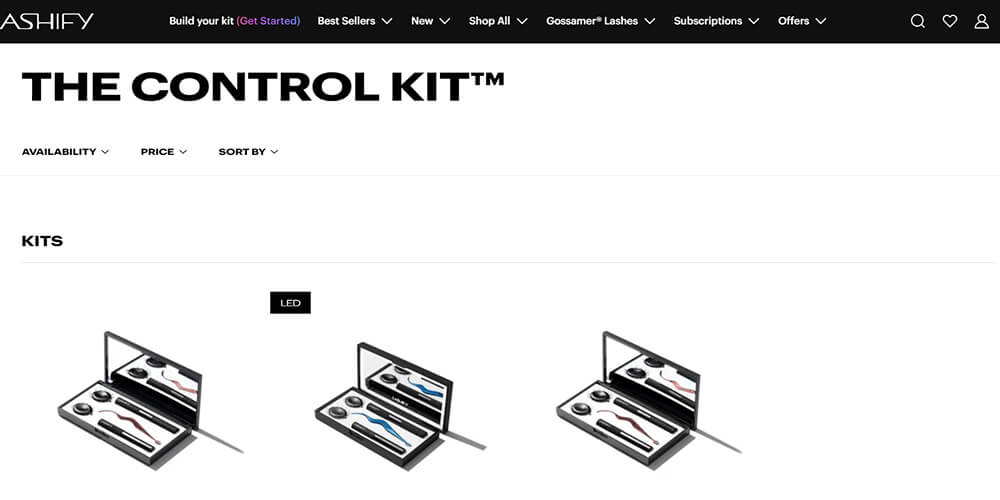
Lashify’s beginner kit is a great choice for those who are just starting out. It includes everything you need, including the lashes, adhesive, and tools.
The lashes are lightweight and comfortable, and the kit comes with step-by-step instructions to help you apply them with ease.
4.2. Lilac St. Lash Kit for Beginners
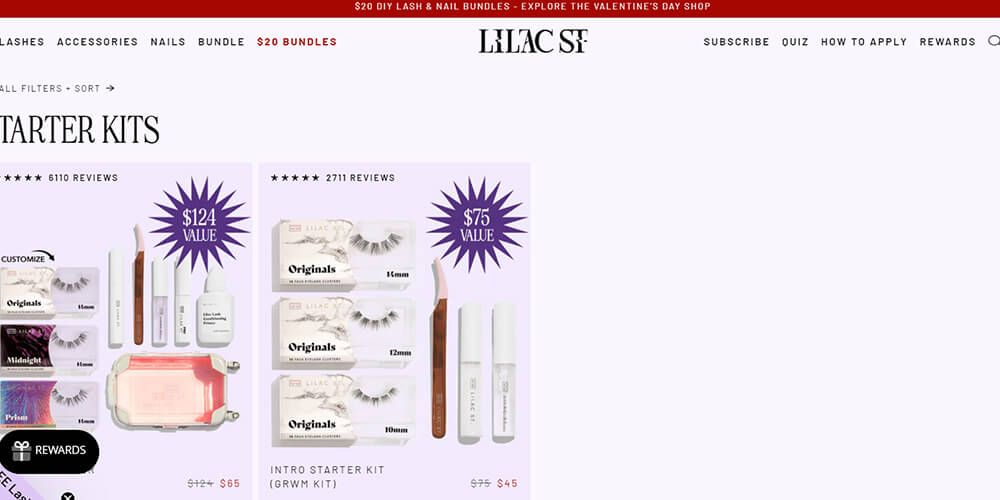
Lilac St. is known for its beginner-friendly DIY lash kits. Their lashes are soft and flexible, and the adhesive is easy to work with.
The kit comes with clear instructions, so even if you’re new to lash extensions, you’ll have no trouble applying them.
4.3. GMEYELASH Lash Kit for Beginner
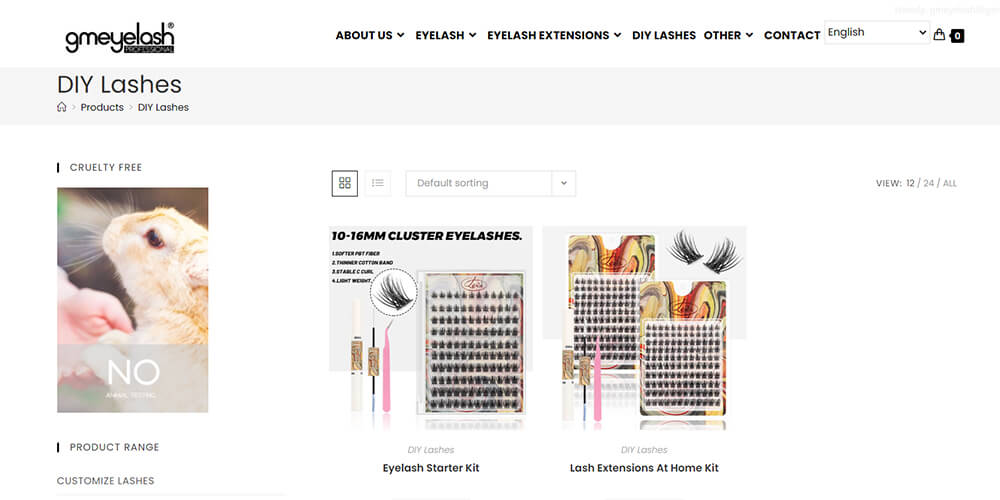
For a natural look, the GMEYELASH DIY Lashes kit is perfect for beginners. It includes soft, lightweight lashes that blend seamlessly with your natural lashes.
The glue is easy to apply and dries quickly, making it ideal for those who want to achieve a simple, natural lash look without a lot of fuss.
5. How to Apply DIY Lash Extensions Like a Pro
Now that you’ve chosen your best DIY lash extensions kit, it’s time to apply them. Follow these easy steps to get perfect lashes every time:
5. 1. Prep Your Lashes
Before applying your lash extensions, make sure your natural lashes are clean. Remove any makeup or oil, as this can prevent the adhesive from sticking properly.
5.2. Choose the Right Lashes
Pick lashes that match the look you want. If you want a natural look, choose shorter lashes. For a more dramatic effect, go for longer lashes. Most kits come with different sizes so you can mix and match.
5.3. Apply the Adhesive
Put a small amount of adhesive on the base of each lash extension. Use a lash applicator or tweezers to carefully place the extensions on your natural lashes. Hold them in place for a few seconds to allow the glue to set.
5.4. Seal the Lashes
After applying the lashes, use a bonding agent to secure them in place. This helps ensure they stay on for longer.
5.5. Clean Up
Once your lashes are in place, remove any excess glue from the lash line. Clean your tools so you can reuse them for the next application.
6. Long-Lasting DIY Lash Extensions: Tips for Extended Wear
If you want your best long-lasting DIY lash extensions to stay put, here are a few tips:
- Use High-Quality Glue
The best glue for DIY lash extensions will make all the difference in how long your lashes last. Look for adhesives that are waterproof and long-lasting.
- Avoid Water and Oil
Water and oil can break down the adhesive, causing your lashes to fall off sooner. Try to avoid getting your lashes wet for at least 24 hours after applying them. Use an oil-free makeup remover to clean your lashes.
- Sleep on Your Back
If you sleep on your side or stomach, your lashes can get squished and may fall off. Try sleeping on your back to keep your lashes intact.
- Be Gentle with Your Lashes
Avoid rubbing your eyes or pulling at the lashes. Gently brush them with a spoolie to keep them looking neat.
7. The Best Glue for DIY Lash Extensions
Choosing the right adhesive is crucial for the longevity and safety of your DIY lash extensions. There are several types of adhesives available:
- Latex-Free: Ideal for those with latex allergies.
- Hypoallergenic: Formulated for sensitive eyes to minimize irritation.
- Waterproof: Provides a strong hold even when exposed to moisture.
The best glue for DIY lash extensions should offer a strong hold while being gentle on your natural lashes and skin. Always perform a patch test before applying any adhesive to ensure you are not allergic.
8. DIY Lash Extensions for Sensitive Eyes
Those with sensitive eyes need to take extra precautions when choosing and applying DIY lash extensions. Look for hypoallergenic products that are free from common irritants.
Smaller, lighter lashes are generally more comfortable, and it’s essential to use a bonder specifically formulated for sensitive eyes. The best DIY lash extensions for sensitive eyes will prioritize comfort and safety, reducing the risk of irritation.
9. Where to Buy the Best DIY Lash Extensions
You can purchase DIY lash extensions from various online stores and marketplaces:
- Amazon: Offers a wide selection of kits and individual lash extensions at competitive prices.
- Ulta: Carries popular brands and provides the opportunity to try products in-store.
- Brand Websites: Purchasing directly from brands like Lashify and Lilac St. ensures you receive authentic products and access to exclusive deals.
Buying from trusted retailers ensures product quality and customer support. The best DIY lash extensions on Amazon and best DIY lash extensions Ulta are easily accessible and often come with customer reviews to guide your decision.
10. Frequently Asked Questions About DIY Lash Extensions
DIY lash extensions typically last from one to two weeks, depending on the adhesive and application quality.
While it’s possible, it’s recommended to give your natural lashes a break to prevent damage.
Yes, if you choose hypoallergenic products and follow proper application techniques.
Use a specialized remover to gently dissolve the adhesive and avoid pulling or tugging.
11. Conclusion
DIY lash extensions are a fantastic way to enhance your lashes without the cost and time commitment of salon visits. With the right kit and a little practice, you can achieve long, voluminous lashes that make your eyes pop.
Whether you’re a beginner or an experienced user, there’s a DIY lash extension kit that’s perfect for you.
Explore the best DIY lash extensions kits of 2025 to find the one that suits your needs.
With a little patience and the right tools, you’ll be able to enjoy beautiful lashes whenever you want.
Say goodbye to mascara and hello to stunning DIY lash extensions!


